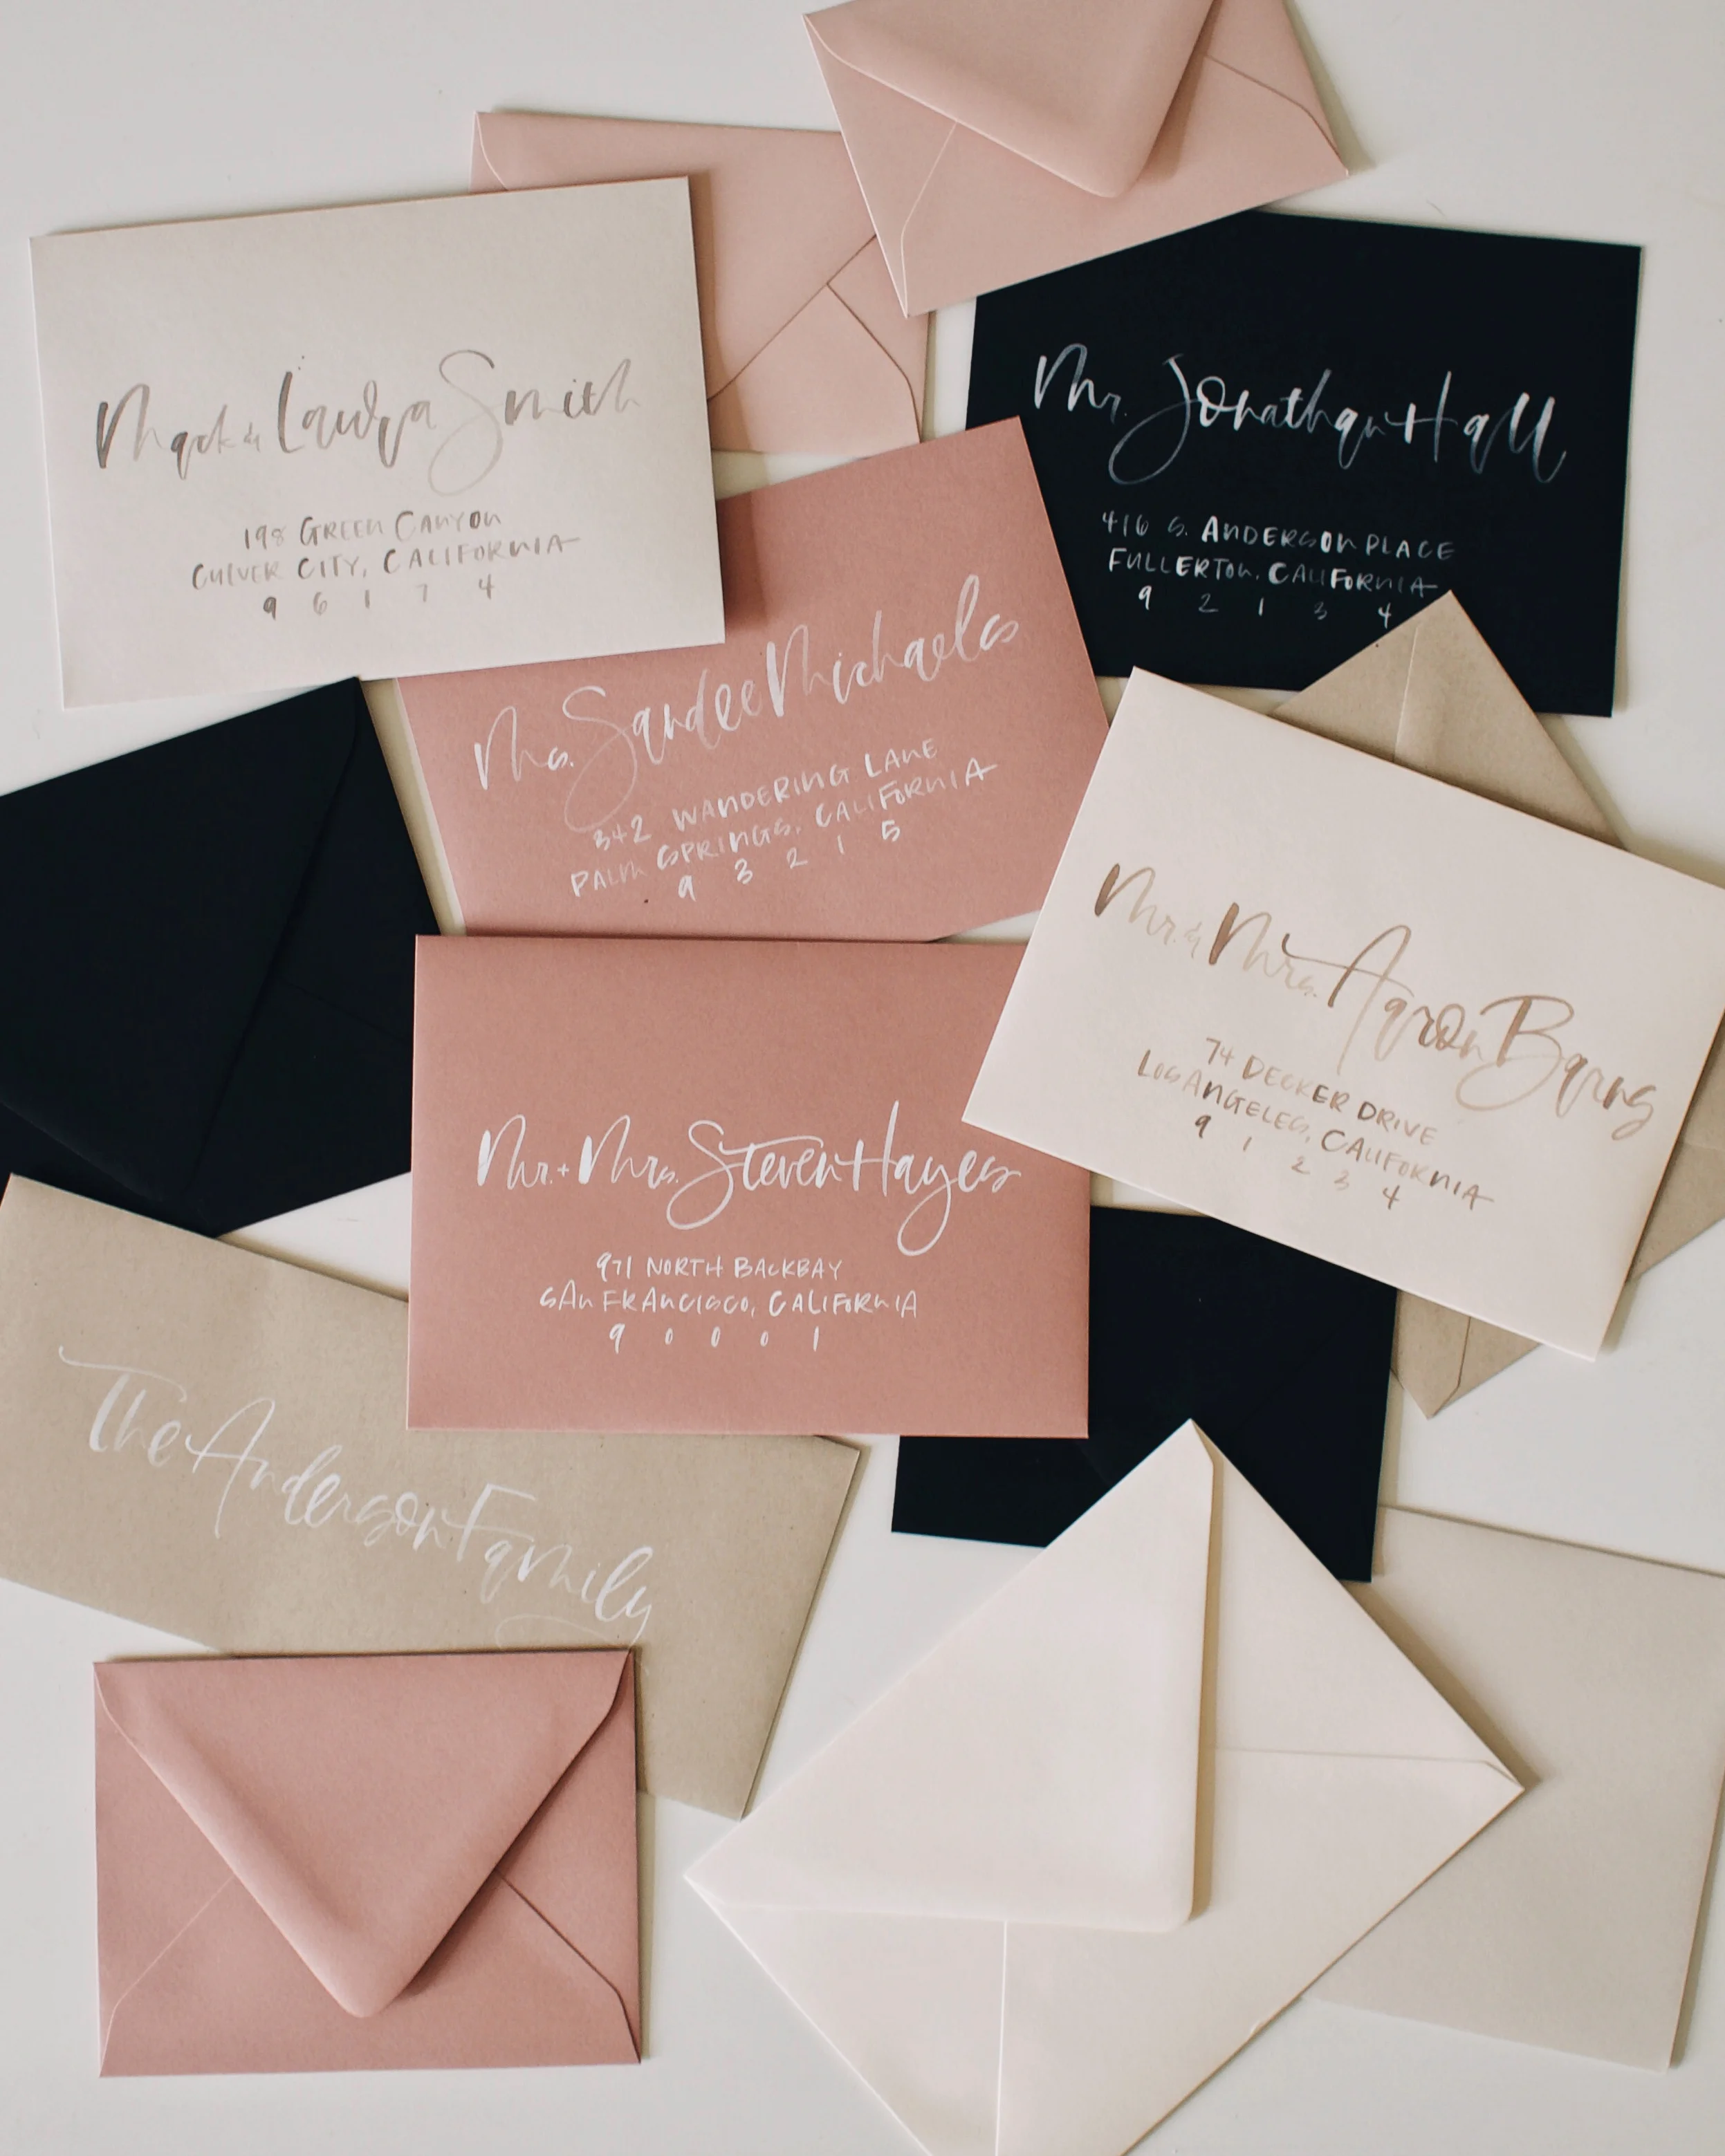
How to Achieve White Lettering on Dark Paper

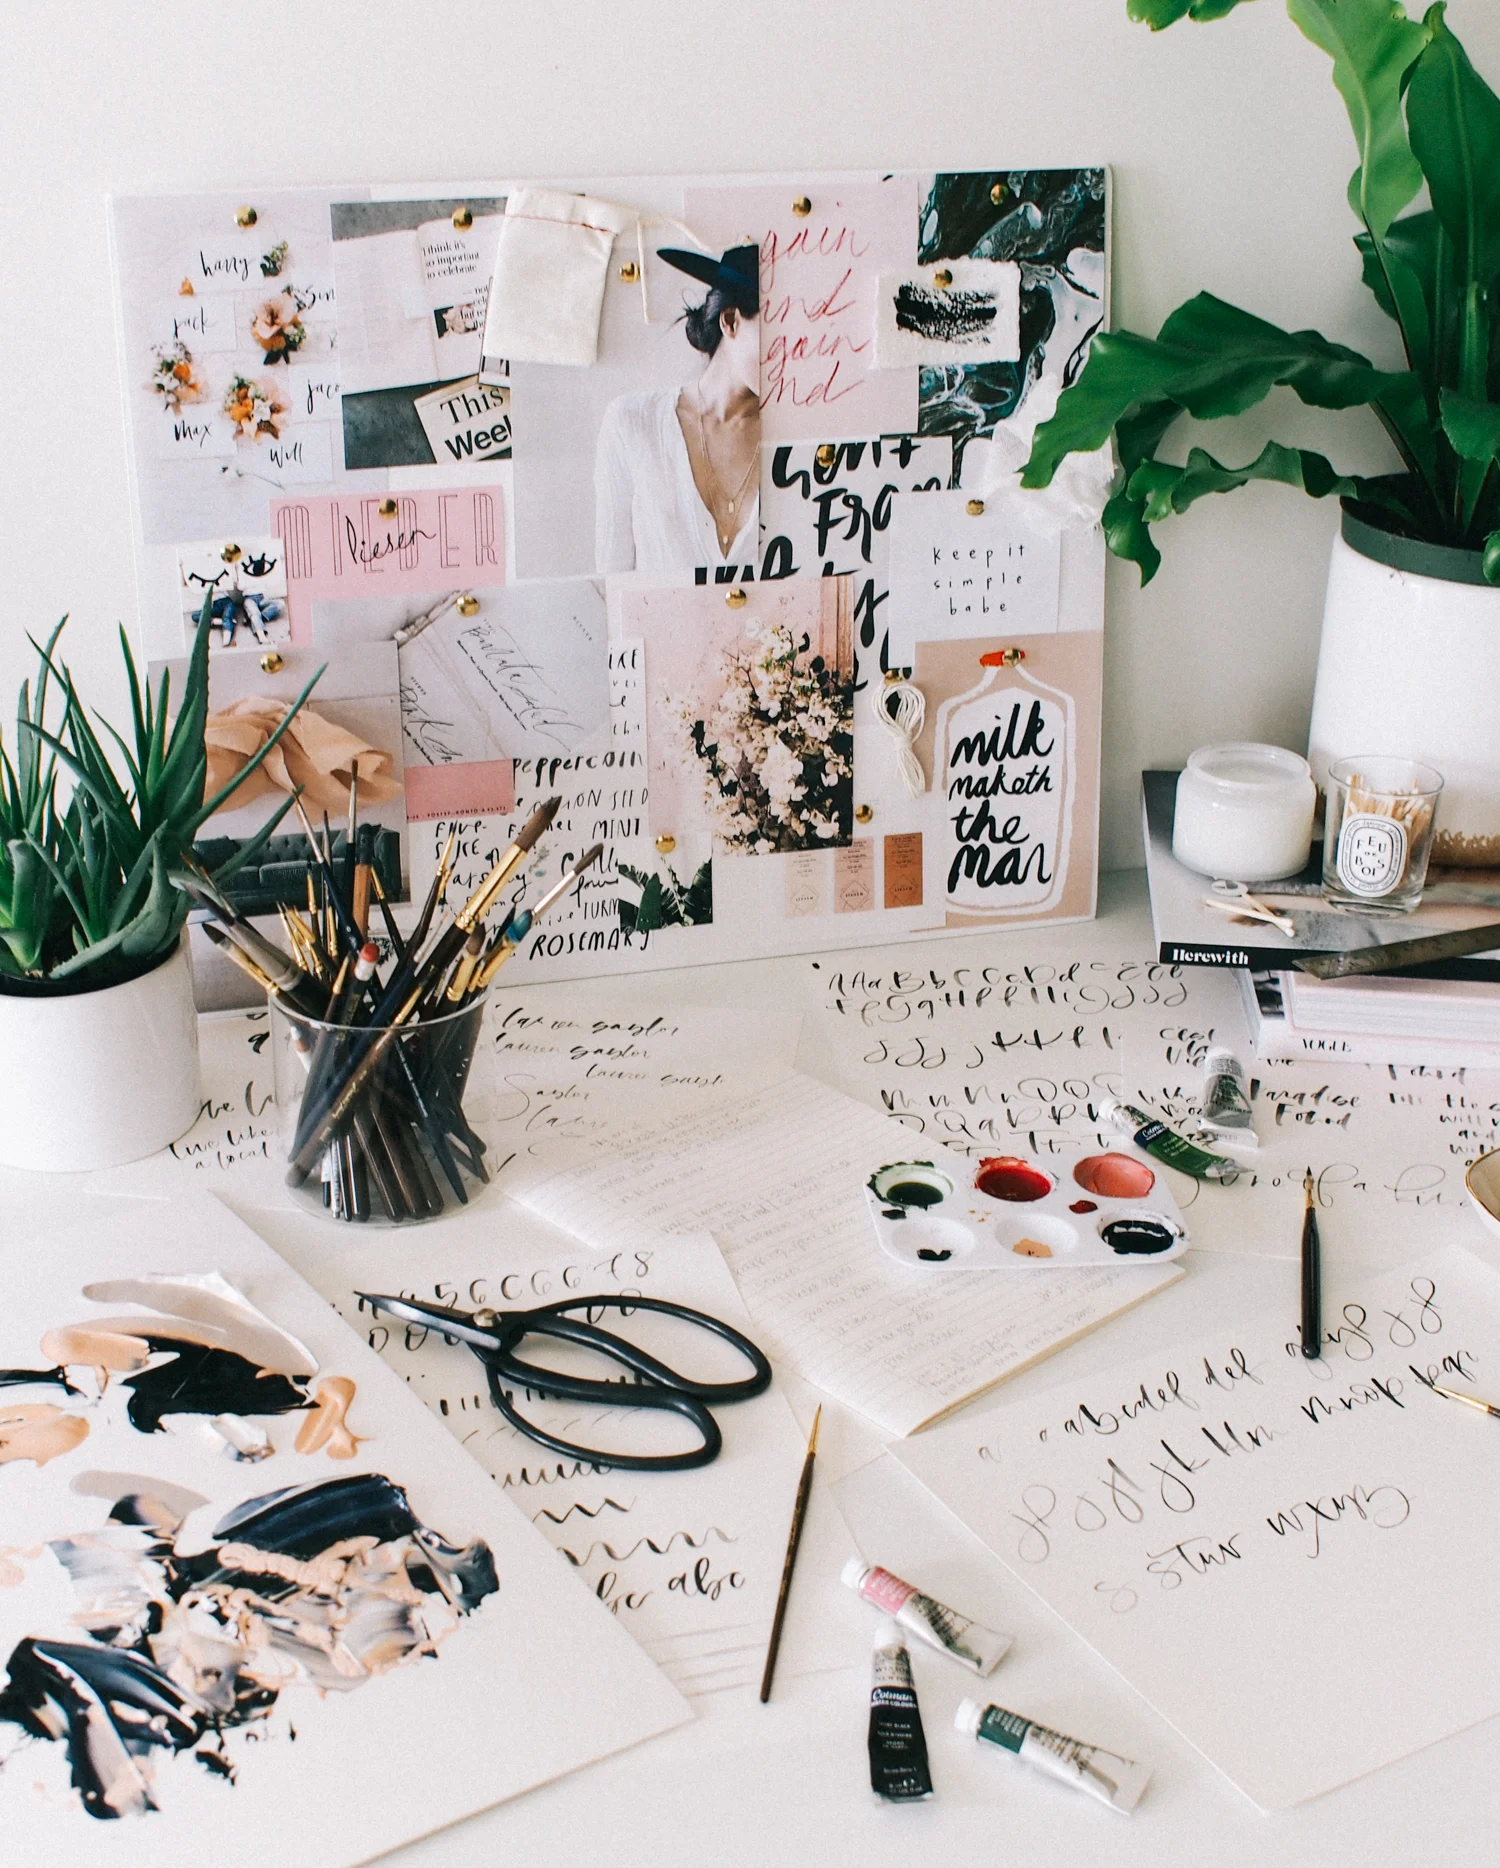
One of THE most asked questions I get when I share my work is how I work with white on darker paper. I share my supplies and a quick tip here and there, but today I wanted to go into more detail for those of you struggling with getting the paint to work. So, read on to shop all of the supplies I have at my desk and read through my full process to achieve the perfect white letters on your next project.

Supplies:
Dr. Ph. Martin's Bleedproof White
An opaque white paint, originally intended for fixing mistakes, but the BEST option for lettering on dark envelopes.
I typically use an 18/0 but you can also play around with 12/0 and 10/0 sizes in both round and spotter brushes.
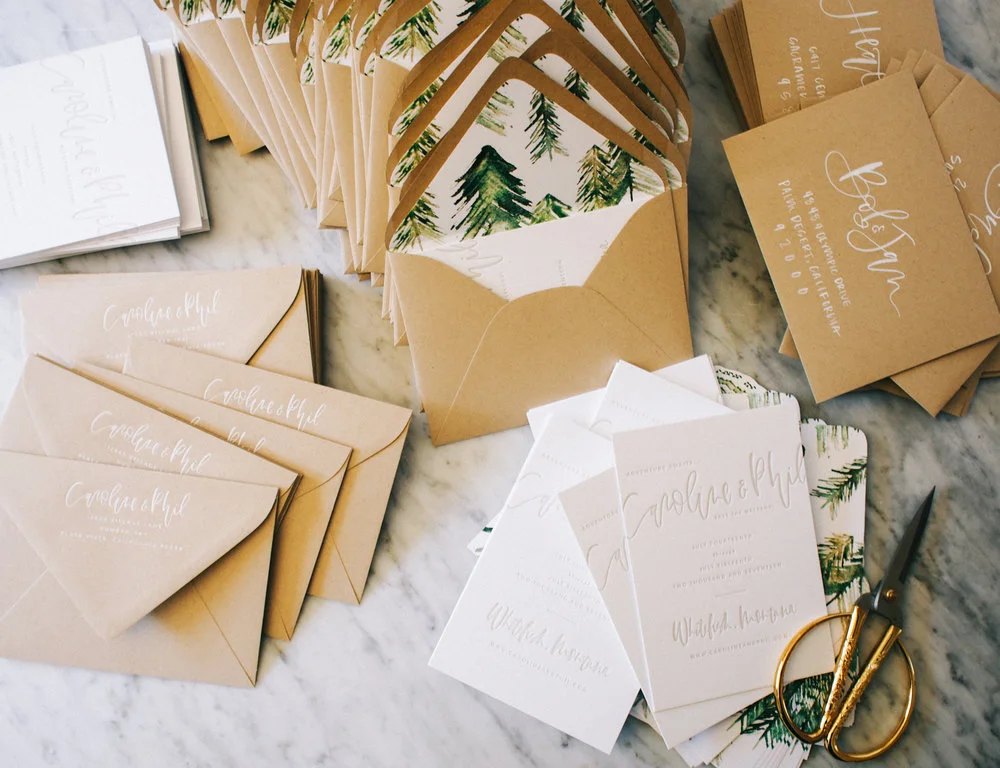
Envelopes
We source from several vendors, but a great place to start for small quantities would be paper source, paper presentation, or stop by your local paper shop/craft supply.
Small container to mix your paint
I use these wood bases to keep them from tipping over, and to keep my paint from drying out.
Skewer or small stick for mixing
Wood skewers from the grocery store are great and affordable so you can toss them once they get old. You can trim them down easily with scissors.

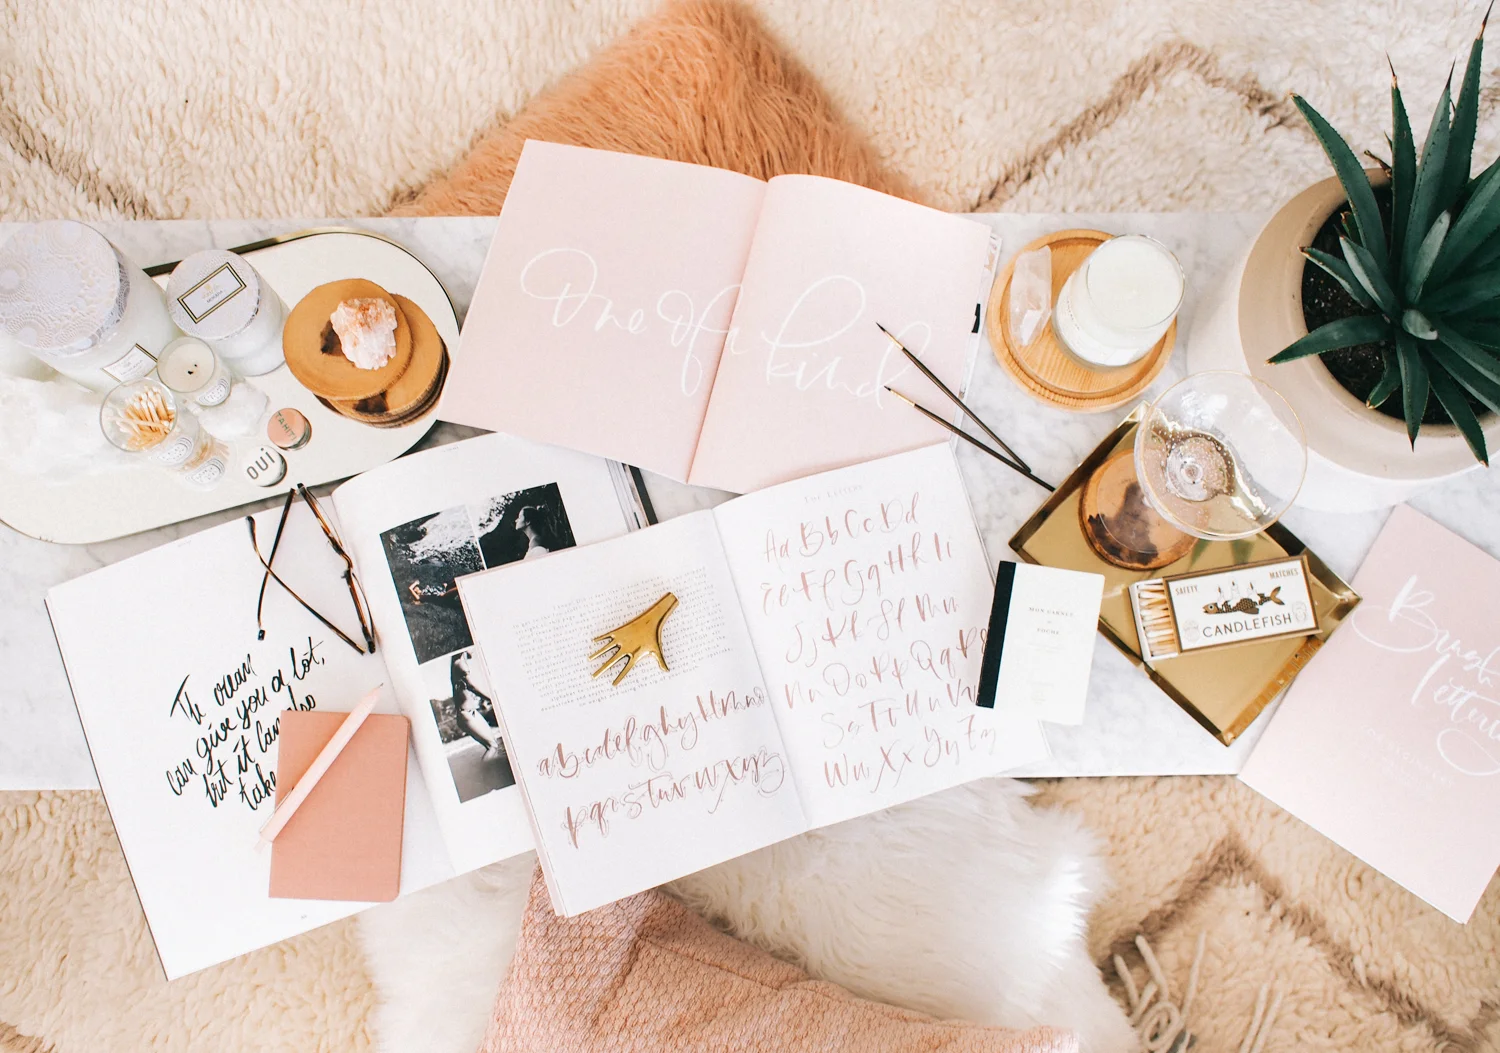
my tips for preparing your paint:
I like to use a smaller container to mix the white, it can dry out pretty quickly, so this way if I leave the container open, I'm only potentially ruining a tiny bit rather than the entire bottle. I tend to walk away from a project and forget about it for a few hours... but if you don't have that problem then you can probably use a larger container;) I also love the wood bases I linked to above because you CANNOT knock them over. With a loose jar of paint, you run that risk everytime you reach to dip (which is a lot).
I start by opening the bpw and mixing it a bit with a skewer. It is super thick, and mixing will get it flowing. Pour the bpw into your container and fill it about 2/3 of the way up. Clean the top of the bpw bottle with water and an old rag (it gets crusty and after a few uses you won't be able to open it!).
Next, use a dropper to add 3 to 5 drops of water (in the small size container), or about 1/3 of your container. Start with less and work up to more water as it's easier to get your desired consistency that way. Once the water is in, use your skewer again to mix the 2 together.
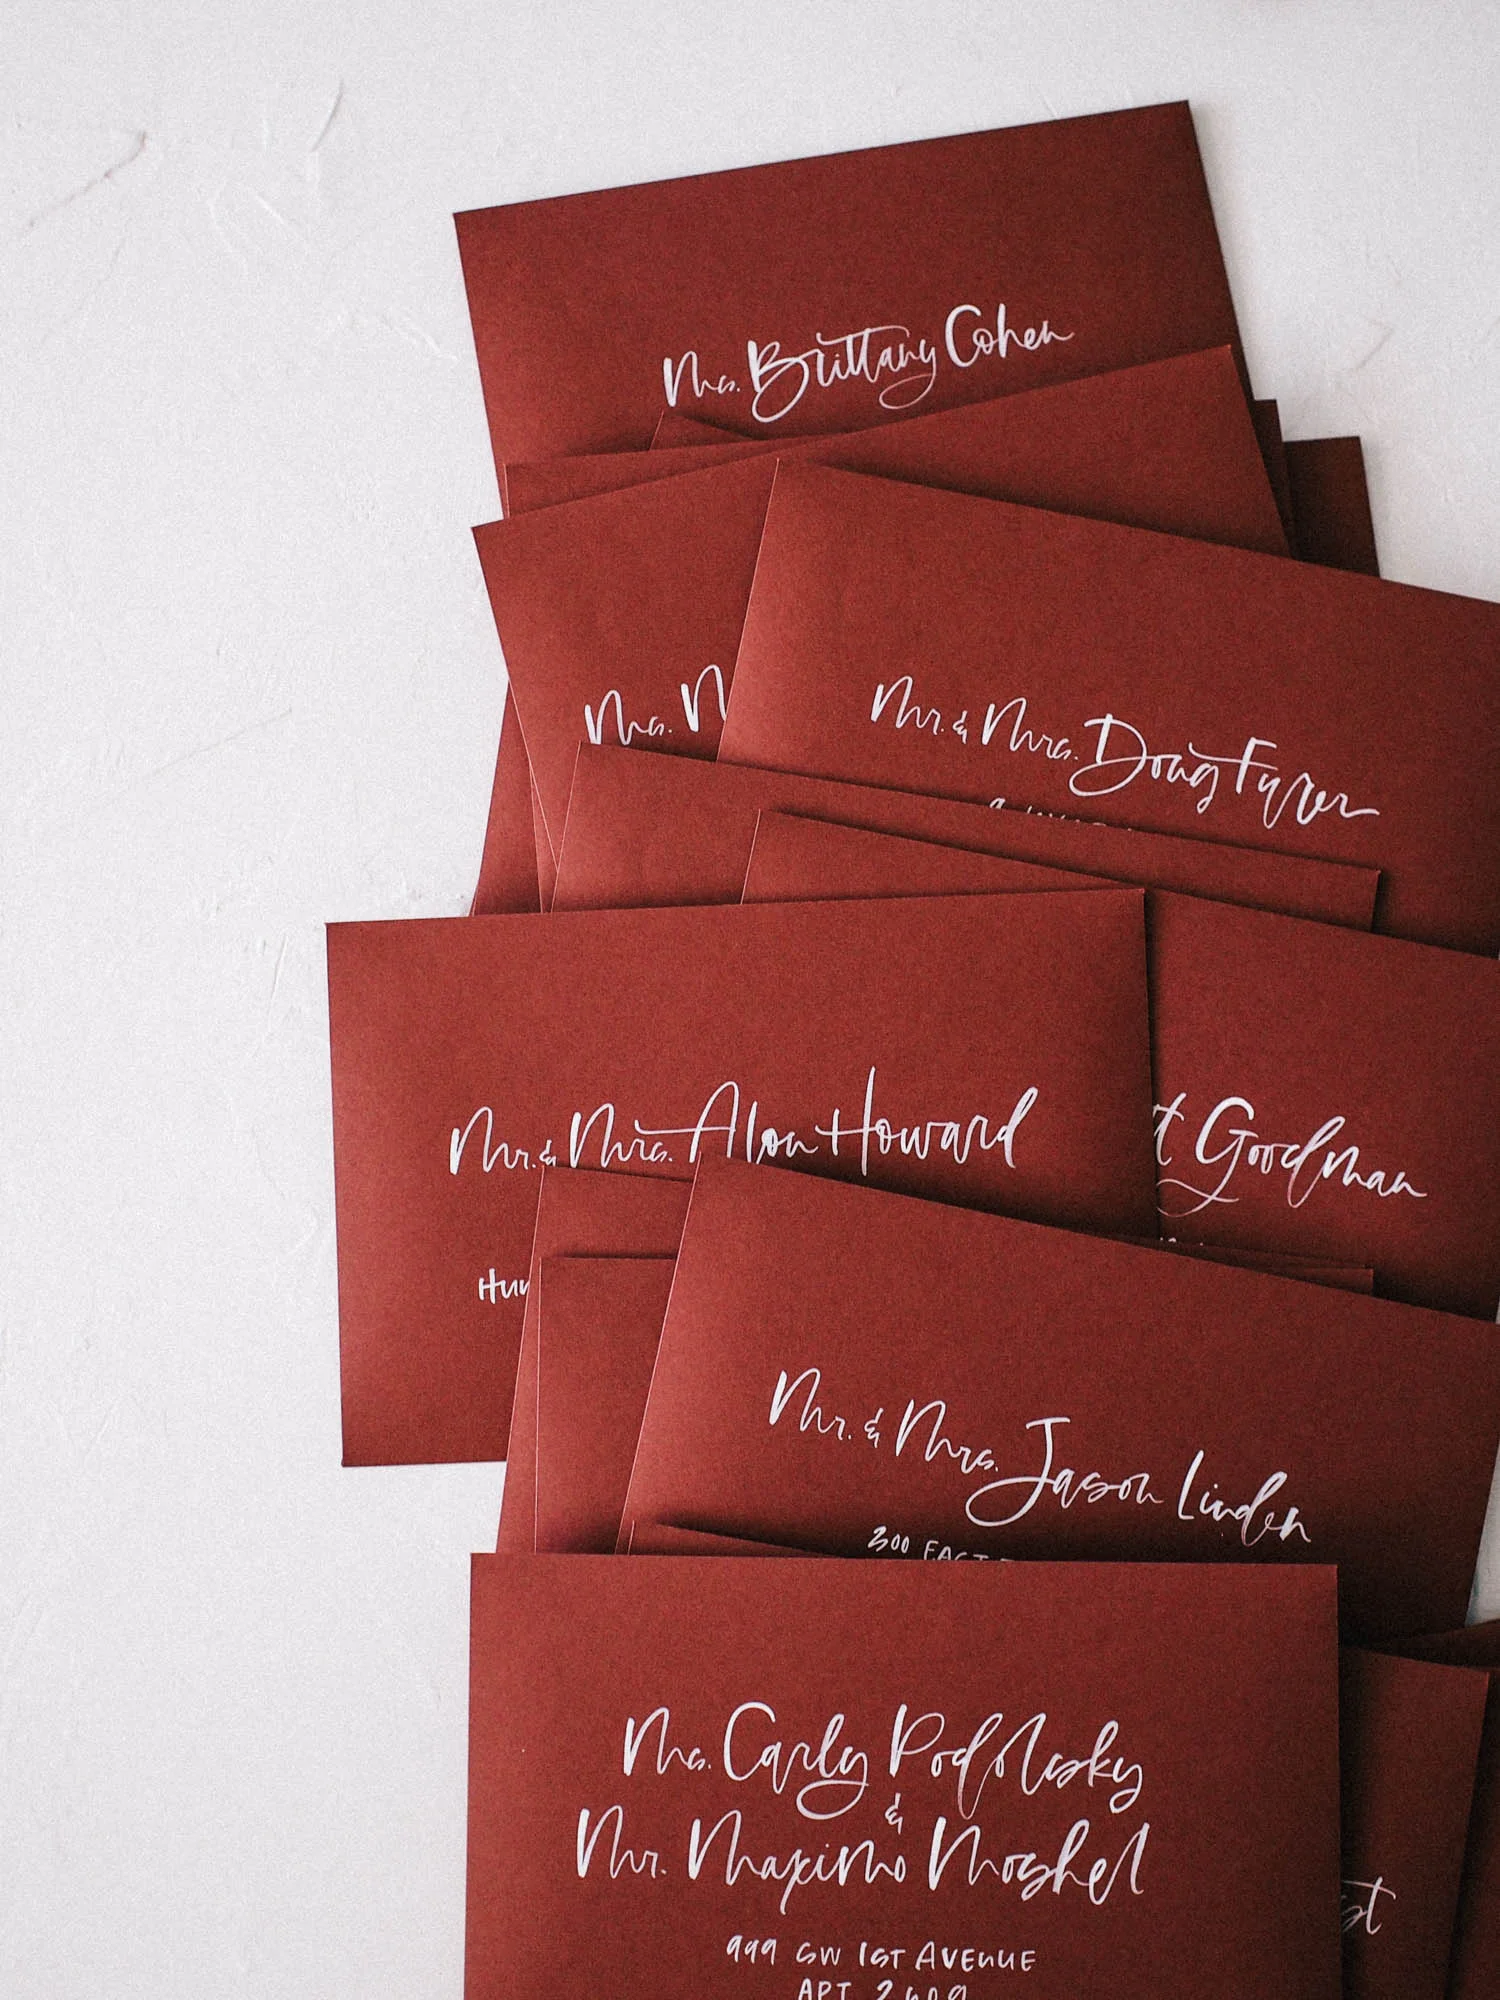
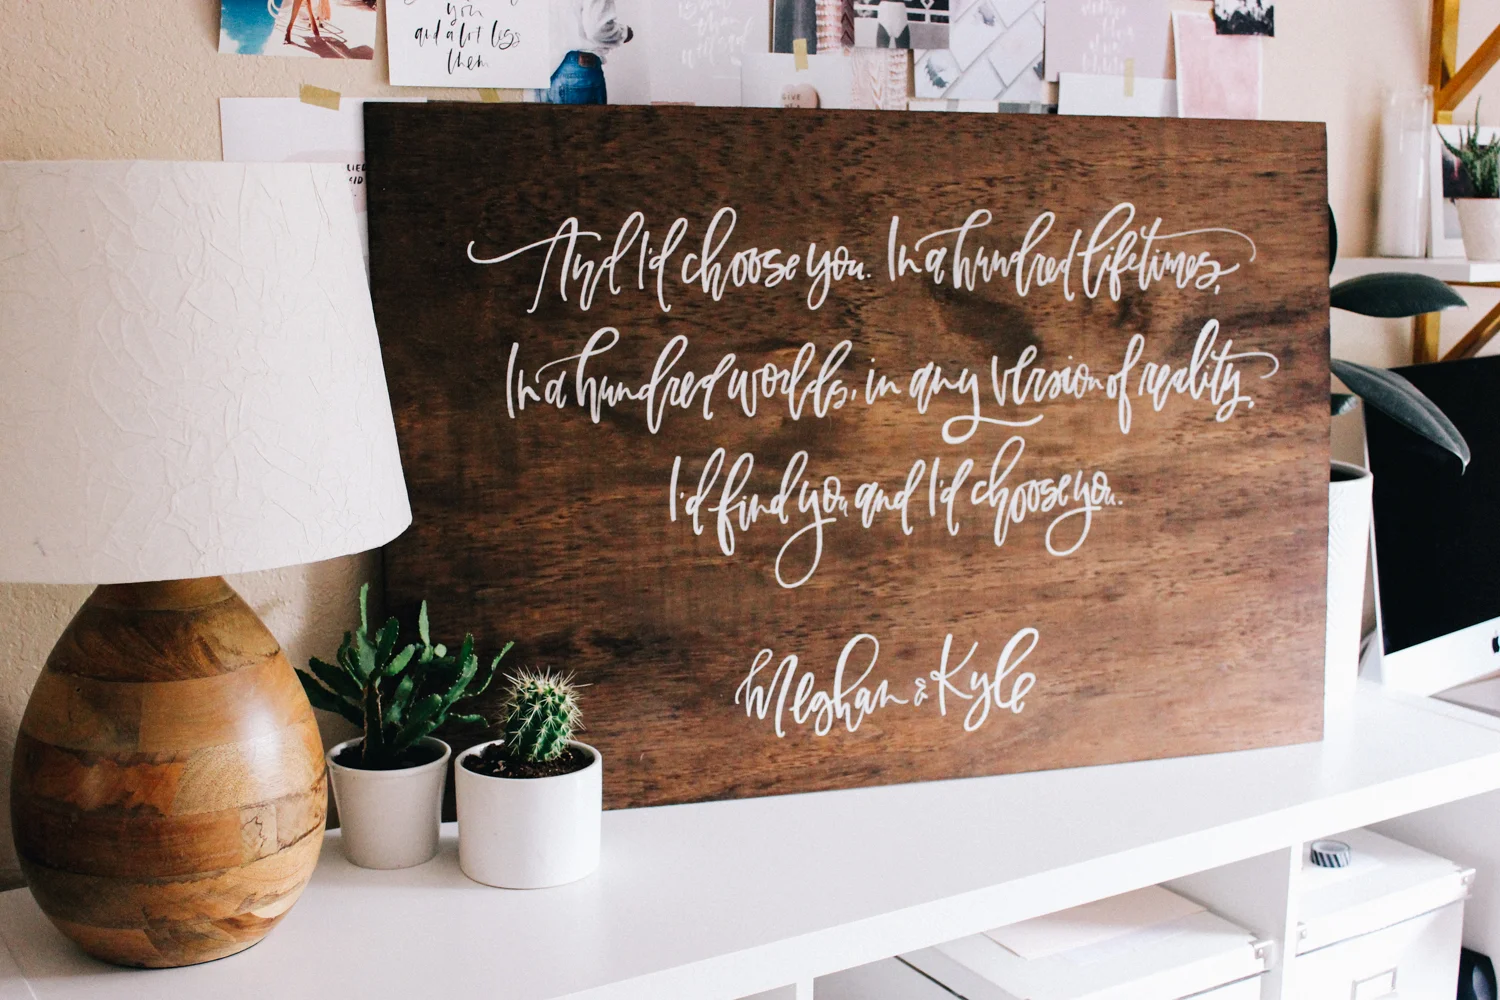
Now, test it! I usually run my brush through a little water, then dip in the paint a few timess to saturate the brush. Have a piece of black, or dark paper to test on. It should run off of your brush smoothly without any brush strokes visible, BUT, it should not be so transparent that you can see the color of your paper through it.
If you are getting that "brushy" look, rather than smooth lines, add a drop of water until it smoothes out. If it is too transparent, you can leave it open for a bit to let some water evaporate, you can add a touch more bpw, or just start over in another small container. If you start over, you can come back to your transparent container in about a day and it should be a little better.
Once you are done, always clean your brushes, and make sure to secure your paint in their airtight containers. When you come back to it a few days later, you will most likely have to add a drop or two of water to get it back to your desired consistency.

FAQ:
How many times do I dip my brush? I typically dip at least once or twice per letter. Practice a bit and you will find your rhythm with the brush you are using and paper.
Which paper should I use? Smooth paper is going to work best with the bpw. You can definitely use something with a bit more texture. With more texture you might notice that you have to dip your brush more and/or use a tiny bit more water to get the paint to flow smoothly.
Why is my lettering cracking? This paint WILL crack if you lay it on too thick. If you follow the ratio above though, you shouldn't have any problems. If you try to work with a thicker version and are layering it on to go over the "brushy" look, this is when you might see cracking. So short answer - use more water.
I hope this helps you guys! If you have any questions, leave them in the comments and I will answer and/or add to the FAQ.
What sort of tutorials like this would you like to see in the future?