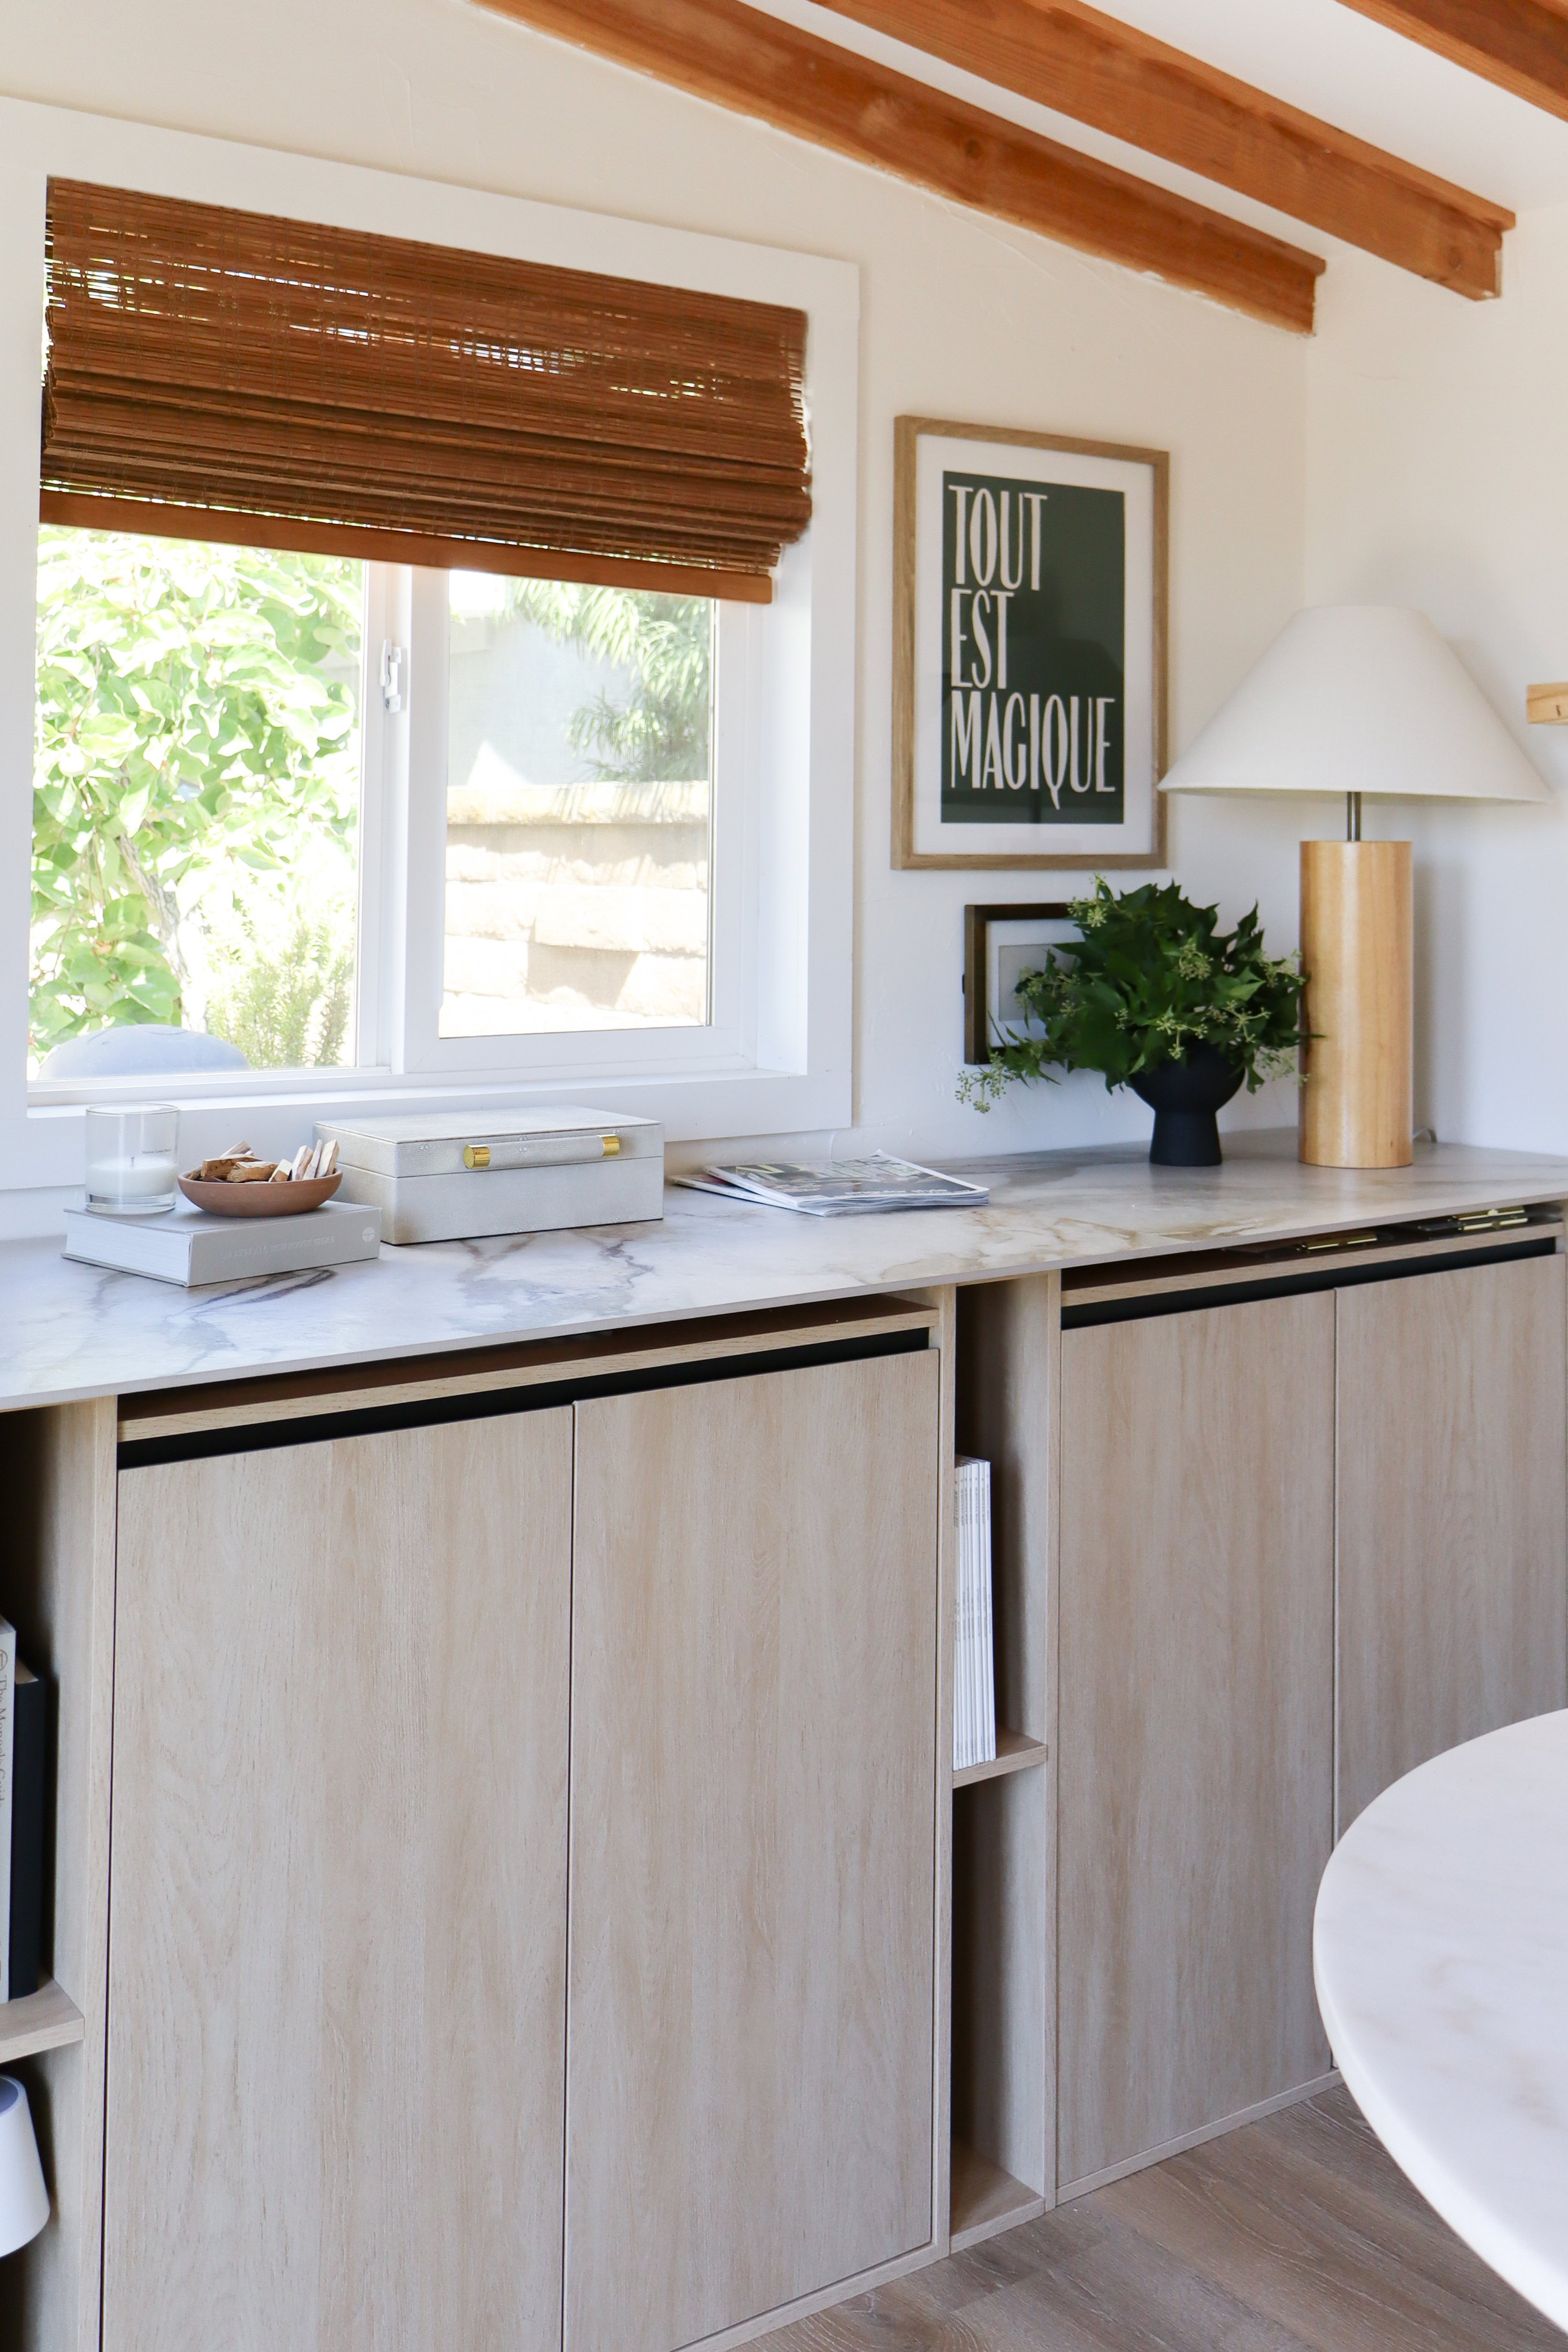
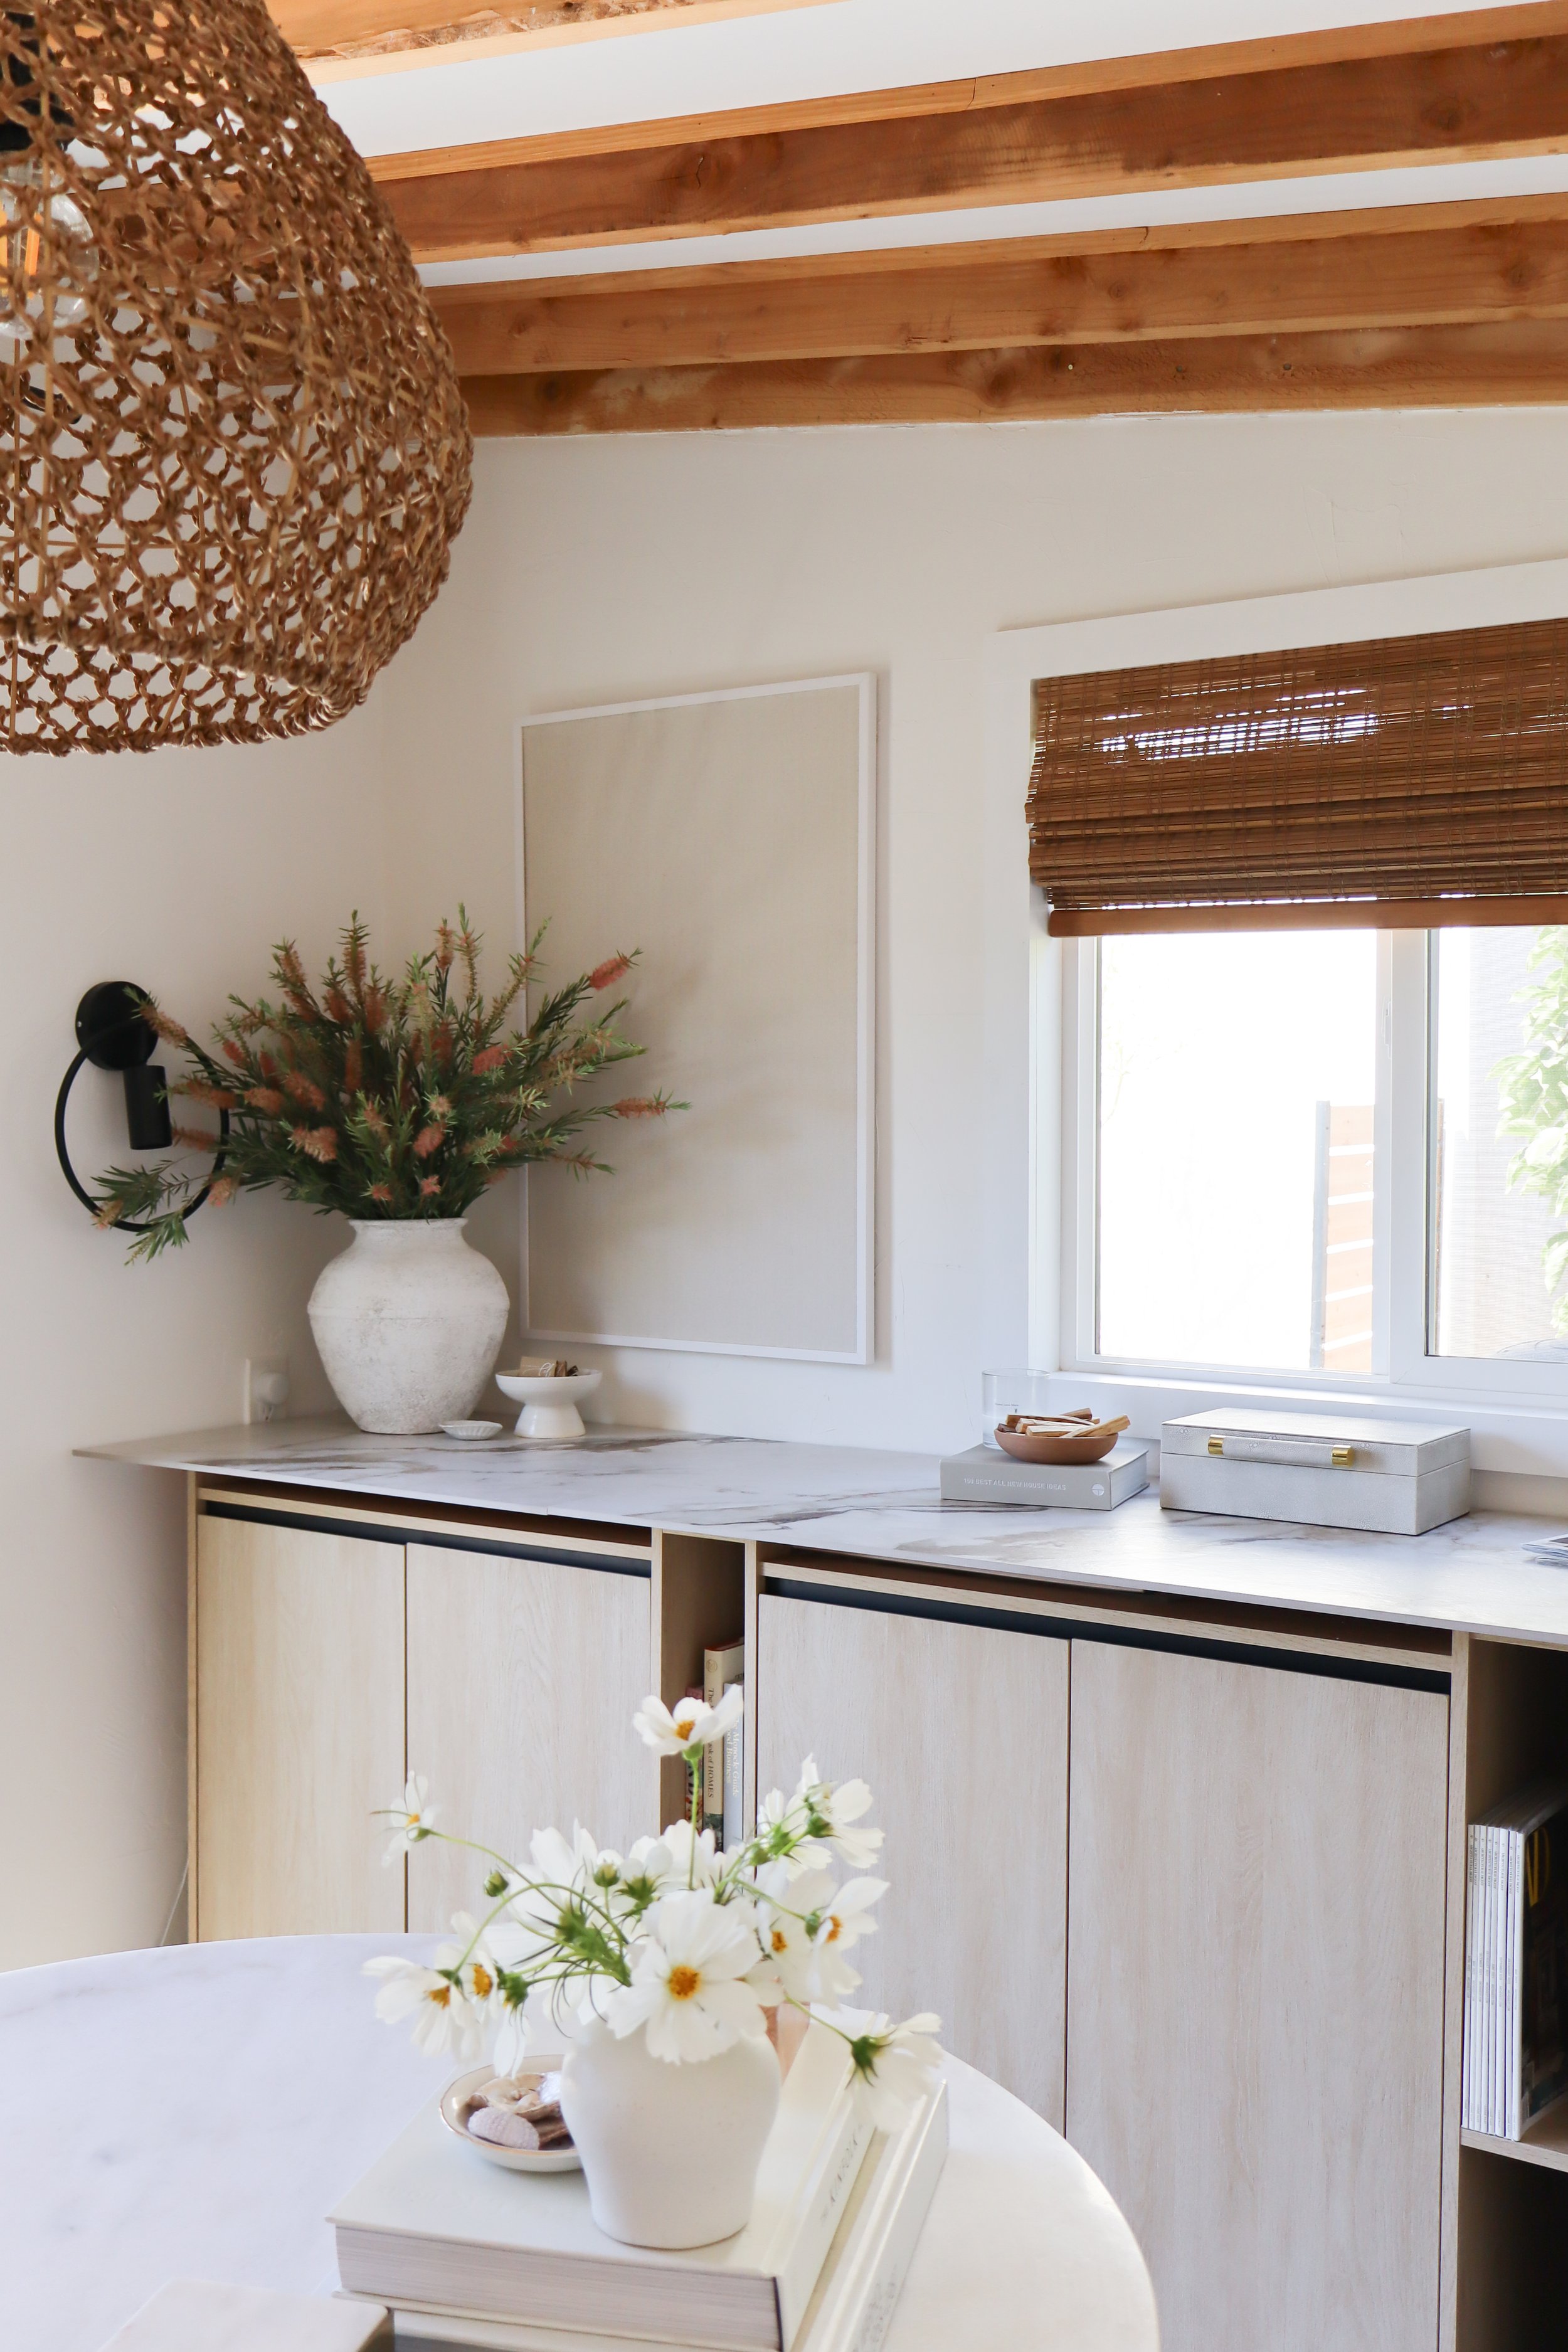
Designing a Stress-Free Studio • The Power of Closed Cabinets and Natural Decor
Since building this space in 2020, it’s been a constant work in progress.
I must have rearranged it once every 3 months. It even became a joke in our house, if my husband saw me bringing out the drill and hammer, he asked if it was time for my monthly rearranging session.
At the time I was trying to outfit the space on a budget and to fit my business at the time. I also had not learned my lesson in patience yet (something i work on everyday!). So I bought some affordable things i could get quickly instead of planning the space out and spending some time thinking about what i wanted and actually needed.
That resulted in my liking, but never loving it. It always felt cluttered because i never came up with a good solution for concealing all of my stuff. I would bring more and more in, trying to organize and make it feel like me, but it all just piled up on each other and looked like a choppy disconnected space.
When i had the opportunity to create some workspace content, i knew it was time to give this spot the attention it deserved all along. I spent weeks narrowing down the pieces that would work best for holding all of my supplies and inventory. Pieces that looked liked they’d last. And items that reflected the vibe i wanted to have every time i walked in here.
I have some tips below, but the biggest changes were made through editing, concealing and intentionally organizing using a few rules.
SHOP MY STUDIO
THE BEFORE
STEP ONE
My process and rules to follow when organizing a space
One. Remove everything and place it in a less convenient area, like a hallway. This ensures you can’t ignore it later. Use this time to sort items into trash and donations. Work quickly. If something needs more thought, just set it aside in your keep pile for now and keep going. Don't spend too much time making decisions at this stage.
Two. Clean the cleared space and add your organizing containers. I find it helpful to see what baskets and bins I already have and what fits easily. The containers you choose will depend on what you're storing, so keep it simple for now. Wait until after you know where everything is going to buy new pieces.
Three. Dispose of your trash and pack up donations. Move them outside or to your car to focus only on what's left.
Four. Now it's time for round two. Go through everything you kept and sort it into categories. When organizing your home or office, keep similar items together in one place. Don’t store like items in different areas; you won't know what you have or where it is.
Five. While sorting, ask yourself if you really need each item. You might find an additional bag of things you no longer use, but now you can see it more clearly. Take time to assess your items: when will you use them? Are your choices based on emotions? If something is sentimental but not practical, set aside one small box for those items.
Six. You have everything categorized now. This is when you give everything a home. Make your stuff’s home practical and easy to get to. For example, if i put a bin of scissors on the top shelf behind another basket full of my glue guns, i will never put in the effort to get them. I will put a pair of scissors in an accessible drawer that i can access daily. Also why do you have a bin of scissors? (Just kidding, I did. They were like pretty scissors though. They sat in a basket for years so i gave them away). Are your bins clear? Great. If not, label them. You WILL forget what’s in them.
Seven. When assigning homes for your items, ask yourself (yes, again) if you really need everything. This is a three-step assessment of your belongings. It may seem excessive, but I suggest you do it too. You’ll only keep what you truly need, and you'll remember where everything is because you’ve made thoughtful choices about it.
Step Two • Organizing bins and baskets I already have and can use to organize
Step Four • Sorting items into categories. Keeping all of my fabric together in one basket
Step Four • Sorting items into categories. Keeping all of my tools and supplies in one cabinet


